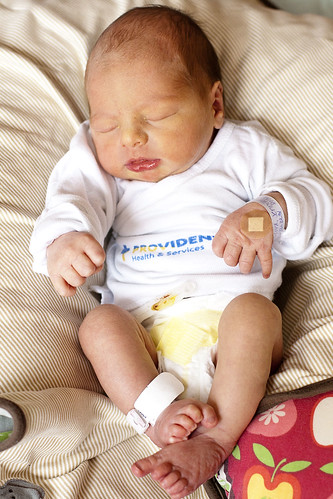
a baby! Will arrived on May 30th 2012!
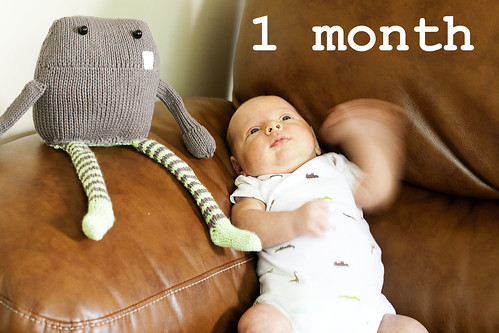
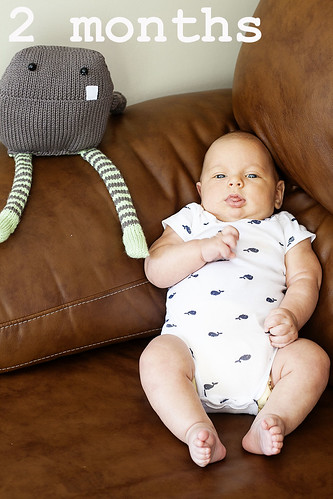
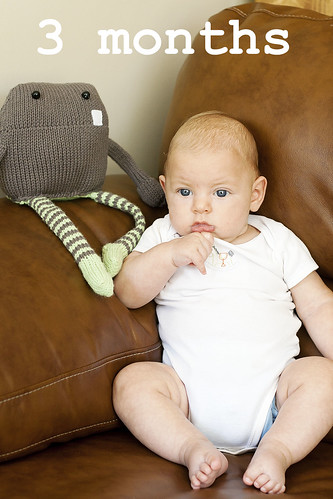
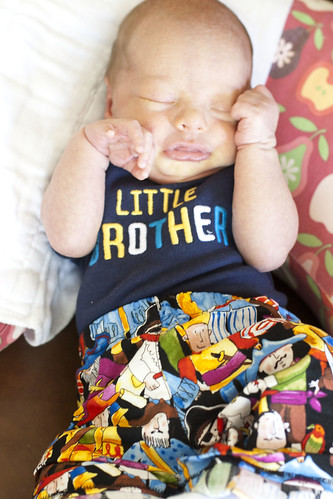
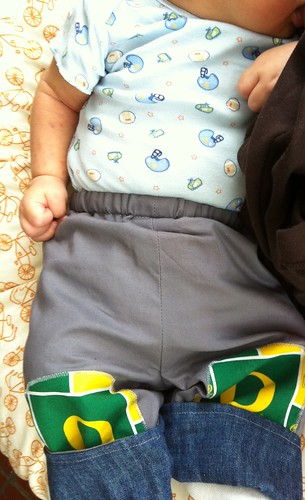
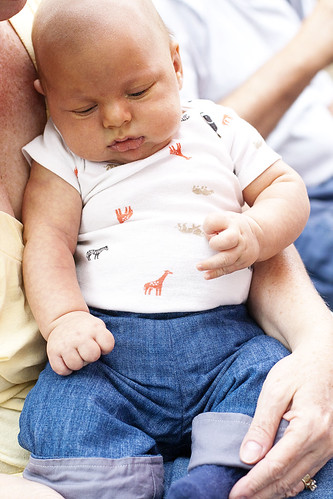
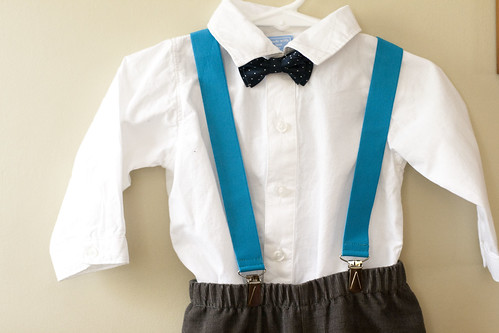
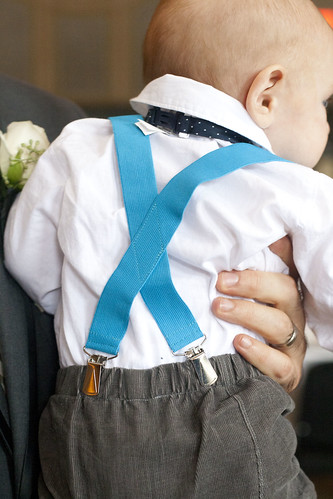
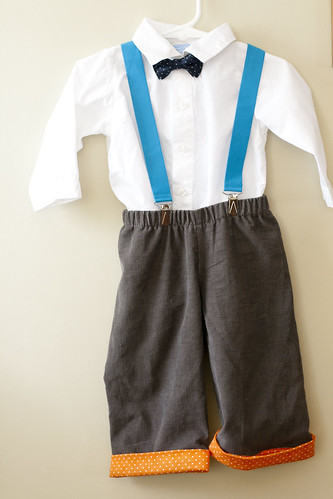
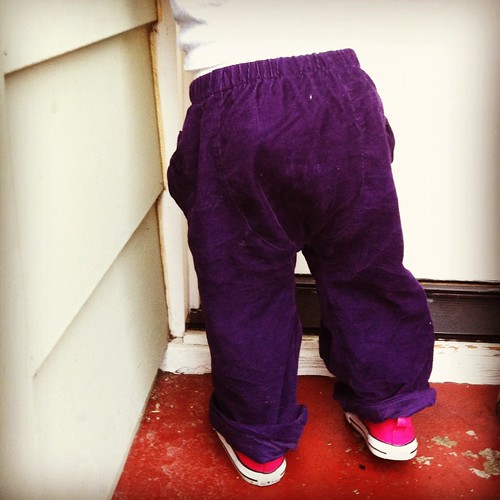
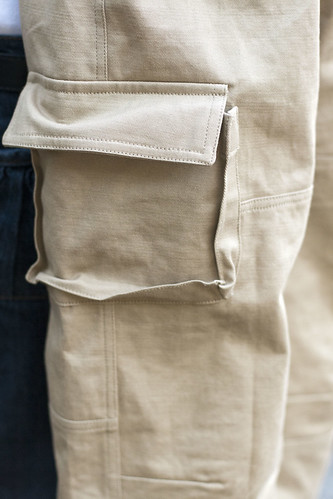
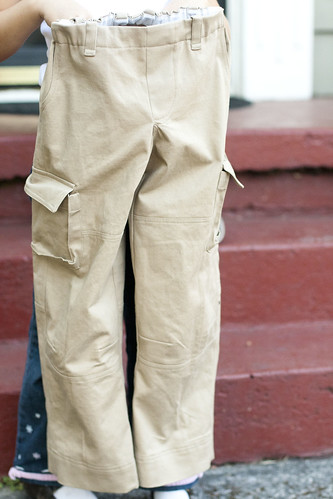
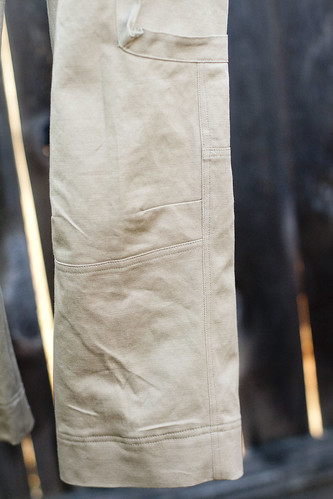
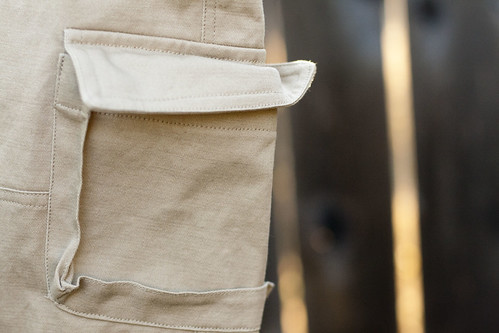
He has been here for 3 months already! I can't believe how fast time is going and I haven't shared anything on this blog since March! I have been sewing and knitting but haven't been taking the time to take pictures or write the details of those projects. I am a bit annoyed at myself now because I am unsure of what needles I used or what size pants I made so now that Will is bigger I am a bit uncertain on what size he needs next or how to upsize for him. It has made me realize how important keeping track of what I make on this blog is for me. So I am going to try and be better about writing those details back in this space. He has outgrown all of his big butt baby pants (
made by rae pattern), his quick change pants (
from anna marie horner's book), and his newborn manly vests (
free pattern). So I am currently trying to plan sewing and knitting projects for the fall for him, along with projects for each lady. I just made Will a pair of big butt baby pants this week, I sure love that pattern, I think it takes me 1-2 hours from start to finish now. Although it takes me 2 days to find that 1-2 hours worth of sewing time!
here are some of his pants and vests with many more to come! Yay for babies!