
Supplies:
3 yards of bias tape (bought or made)
1/2 yard of fabric (probably could get away with 1/4 yard)
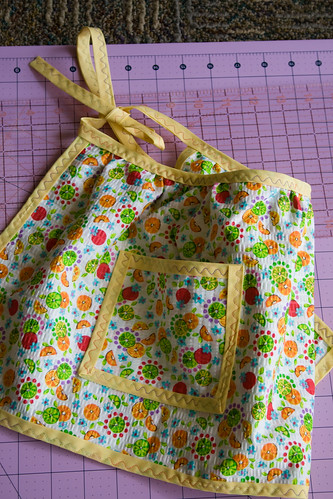
How to:
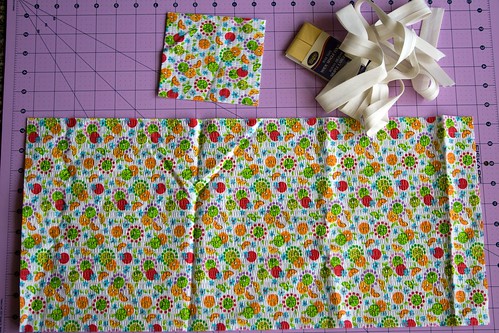
:: With your fabric right sides out, cut a rectangle 22" x 8". So you have two rectangles, wrong sides together. Keep them together. Cut two smaller rectangles around 4.5" x 5". Keep these two rectangles wrong sides together too.
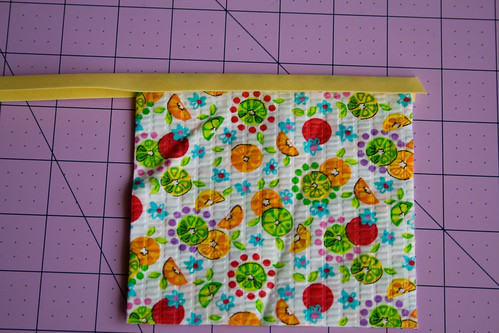
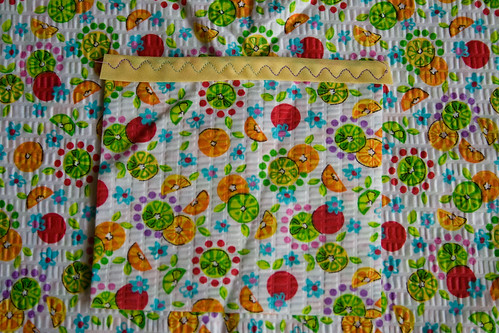
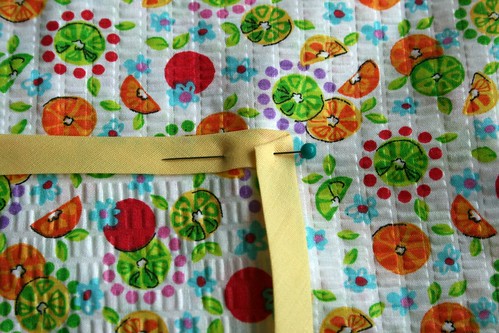
:: First we will start with the pocket. For the top of the pocket we need to attach bias tape to cover the raw edges. Place the fabric pocket inside the bias tape and cut the length of tape you will need. I don't leave much overhang. Sew a straight or decorative stitch to attach bias tape.
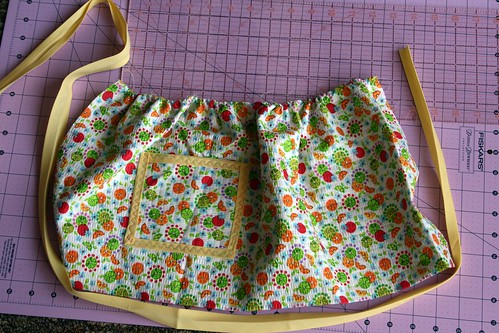
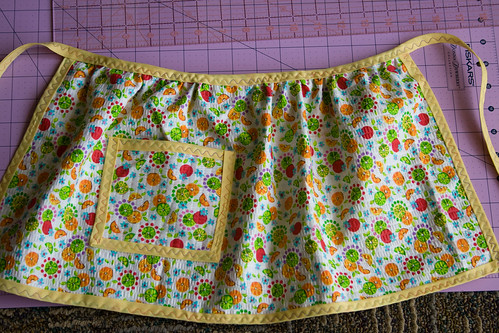
:: Decide where you want your pocket to go on the apron. I usually pick a slightly off center spot. I also like to vary the fabric pattern from the apron (e.g. vertical to horizontal).
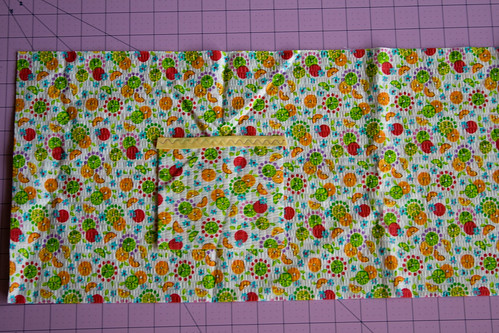
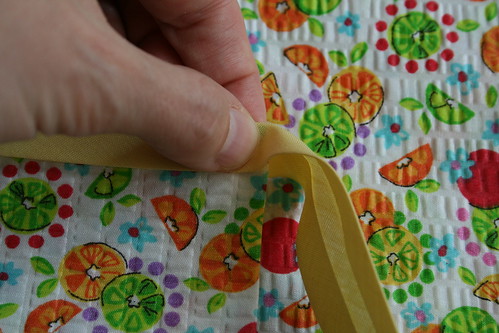
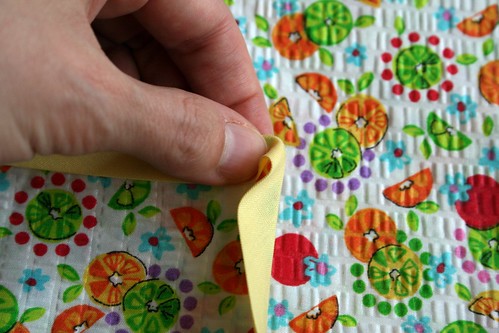
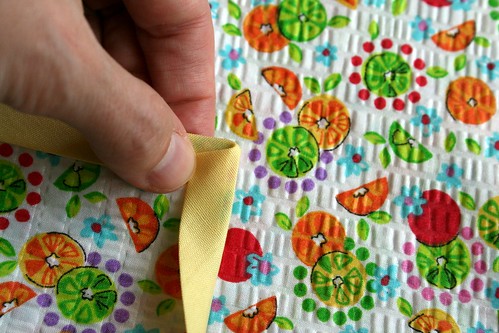
:: Then we will attach the bias tape around the pocket, starting at the top edge, while pinning both the pocket and tape onto the spot we picked on the apron. Sometimes it is easier to pin the bias tape around the pocket and then pin it to the apron. When you get to a corner, fold the bias tape over so it has a nice mitered corner.
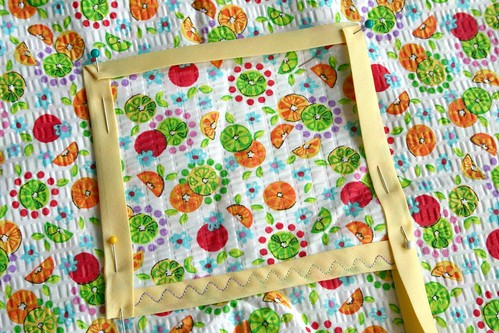
(upside down pocket)
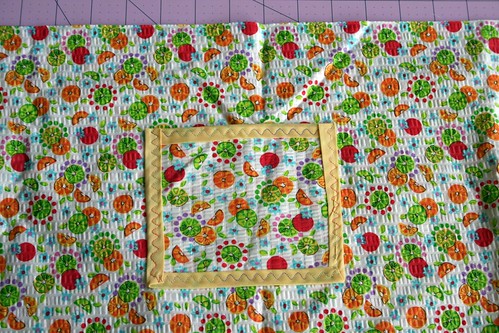
:: I haven't figured out a good way to hide the raw edges of the bias tape yet. If I try to fold it under, the top of the pocket looks wonky to me. So I just cut the bias tape flush. Now sew your pocket onto to the apron.
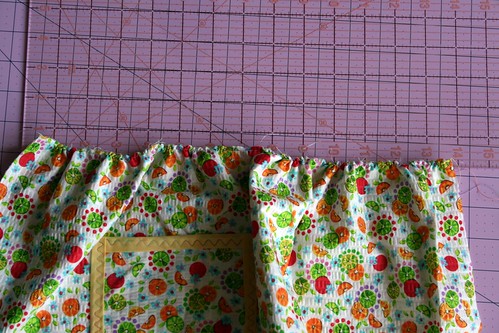
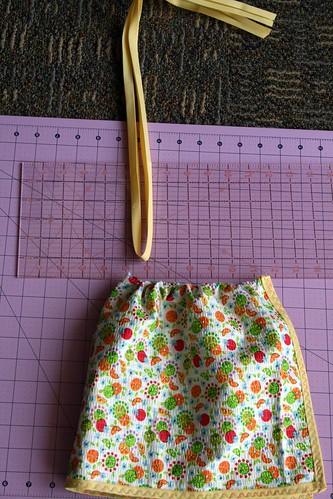
:: For the top of the apron, we are going to sew a long loose stitch so that we can gather it up. I set my machine stitch length as long as it can go and leave yourself long bobbin tails with which to pull and make the gathers. Sew 1/4" from edge. Now pull your bobbin tails on either side slowly so as not to break them until the top of your apron is about 14 inches.
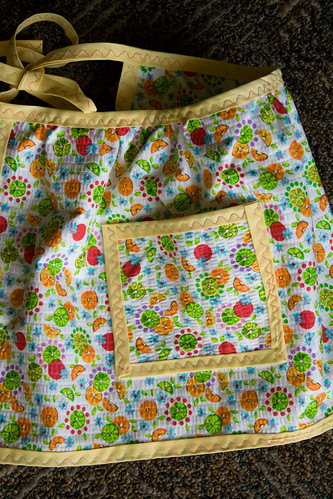
:: Now we are going to sew the bias tape to finish the sides and bottom of the apron. Again using mitered corners. Cut the bias tape flush with the top of the apron.
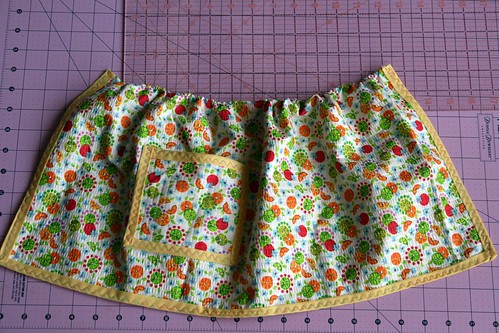
:: Almost there! We need to sew a long length of bias tape onto the top of the apron to finish the edge, hide the gather stitches, and to act as the apron ties. I use the rest of the 3 yd package of bias tape. To make sure that the ties will be of equal length, fold the apron in half and the bias tape. Start pinning the middle of the bias tape to the middle of the apron and go out to each side. Sometimes sewing this can turn out ugly, so you can use a wider bias tape or really try to stuff the apron top to the top of the bias fold.
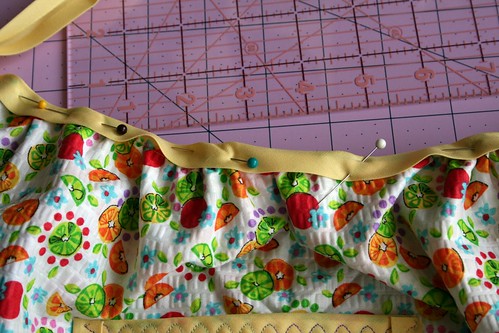
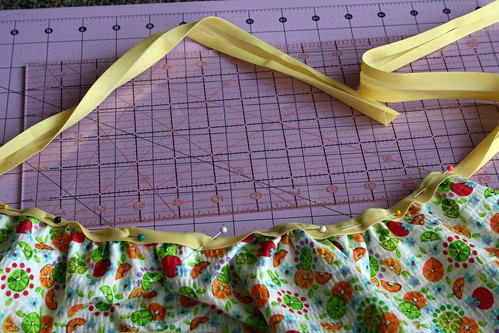
:: Once pinned, take it to the sewing machine. Start at one end of the bias tape (again I just leave raw edges here) and sew your way to the apron and then to the other end of the bias tape. Finished!
let me know if you have any questions!


5 comments:
Wonderful tutorial! I'm off to make my little flower an apron...
Thank You!
I just got introduced to aprons a couple months ago from my neighbor and can't figure out how I've lived without them for so long... saves my girls' clothes!!
Thanks, I can't wait to try this. It is darling!
Aww, that is so cute! I'll be linking to this if you don't mind.
What a sweet little pinny.
Post a Comment